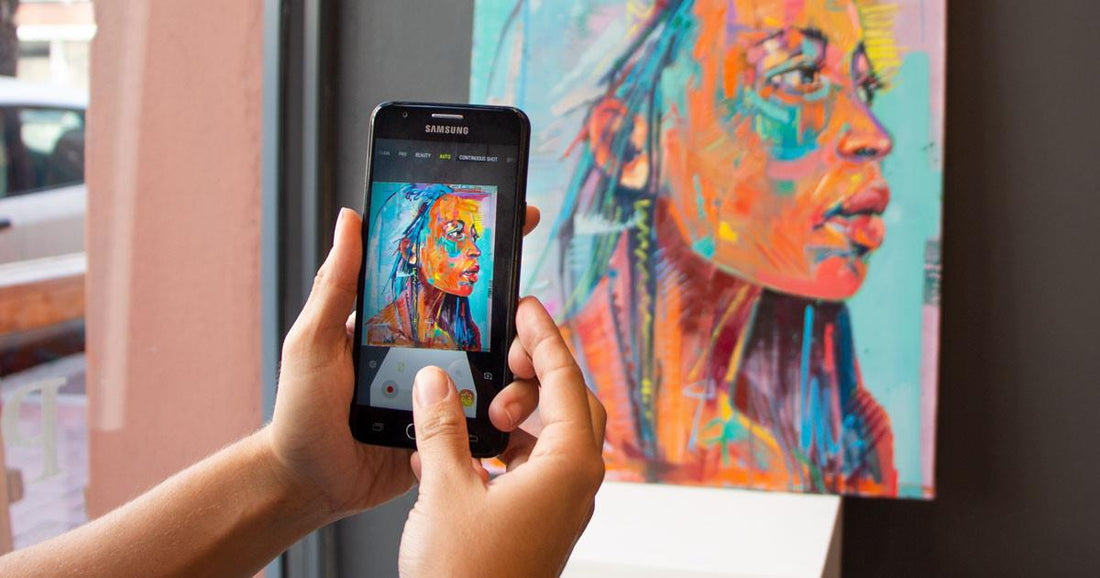
How To Take Good Photos Of Your Artwork?
Featured Image Source: Stateoftheart-gallery
Your art is your life. It’s your passion, and it should be treated like one. You can’t afford to take a backseat on your photography skills or put out subpar work. It’s essential for artists to have good-quality photos of their artwork. Since artists are required to submit work digitally for exhibitions, grants, a public profile, website displays, and print reproductions, good photography offers the first impression of your art and your professionalism.
In this article, we’ll cover methods on how to photograph your artwork.
1. Get a Good Camera
If you're just starting out, ensure you get yourself a decent digital camera with the following features:
- High-resolution (a sensor with more pixels than the average phone) will provide better image quality overall.
- Ability to set the ISO settings – the ISO and aperture of your camera are very important to get clear, crisp and bright images of your artwork.
- Good autofocus – this is especially important when taking photos in low light situations as it allows you to adjust for macro shots.
While a smartphone camera can be a great place to start, consider those found in the latest version of the iPhone or similar mobile devices for optimum results.
2. Hang Your Work On The Wall
Your customers are most likely going to hang your artwork on their walls, so it makes sense to capture what that could look like. If you photograph your artwork leaned up against a wall and shoot from a downward angle, then you’re doing it wrong!
To take your art from "OK" to amazing, find a neutral-colored wall and hang your piece at a height where the middle of your work is parallel to where the camera will be—either on a tripod or resting sturdily on a table or other surface.
This will help you get the perfect photo every time.
3. Good Lighting is Key
There are a methods you can use if you want to produce an even lighting effect for your artwork.
The most straightforward method is to wait for cloudy weather and shoot the artwork outside. The 100% cloud cover in the sky functions as a massive softbox, distributing light evenly. Direct sunlight causes reflection and glare and should be avoided.
If filming indoors, choose a location with plenty of windows and natural light. You can also use lamps.
All you need for 2D work are two lights. While daylight bulbs are preferred, clamp lights also work well. Place the lights at a 45-degree angle, aiming towards the wall, midway between the camera and your work on the wall (this angle will help eliminate any glare you might get from the lights). If the lights continue to glare, place white sheets in front of them.

4. Align Your Camera
Once your artwork is hanging on the wall and illuminated by light, double-check that the camera is adjusted such that the lens lines up with the center of the painting - with little to no background visible. The artwork in your photograph should take up the bulk of the frame.
In a world of where more art can be found on digital platforms, forgery has become commonplace. Read our blog post, "How To Spot Fake or Copied Art" to learn more.
View the wonderful collection of Haitian art at Myriam Nader Haitian Art Gallery in New York for a wide variety of works for sale. Shop now!


